Articles and Videos
12 x 36 Lathe Tail Stock Rebuild and Upgrade
.jpg)
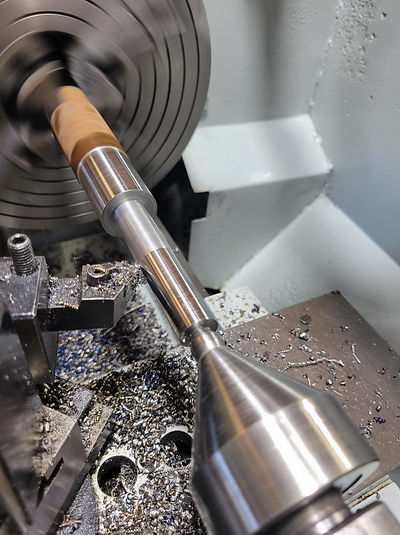
I have two of the common type Chinese 12x36 lathes, one is brand new and the other is an older model. Neither of them was capable of holding tight tolerances when I got them. I completely went through both of them, machining new parts, remachining surfaces and so on. After I started using the old one, I noticed that the tail stock was a weak point. The crank wheel had stiff spots, it flexed a lot, and it was gritty feeling. When I got the new machine, I made a new tail stock from scratch that addressed all these issues.
The tail stock on the older lathe had been in service for a while and was wearing out and needed to be rebuilt so I decided to incorporate the main change from the new one to this project. Since I made a tail stock for the new lathe, I had an extra one to use for this project. Without machining a completely new and larger one, like the other one, I only addressed the big issue. The hold down system. This locks the tail stock on the bed when in operation. The shaft was made out cheap metal and started to flex and bend. While machining, even light jobs, the tail stock would slowly creep reward. You can imagine how much that worked out. The original tail stock had two thrust bearing and the shaft road on the bore of the bearing hosing. Also, the shaft wasn’t completely straight which cause tight spots when turning. I replaced it with a bearing pack that had two thrust and roller bearings. I machined a new quill screw that was straight.
Schematic of the Tail Stock

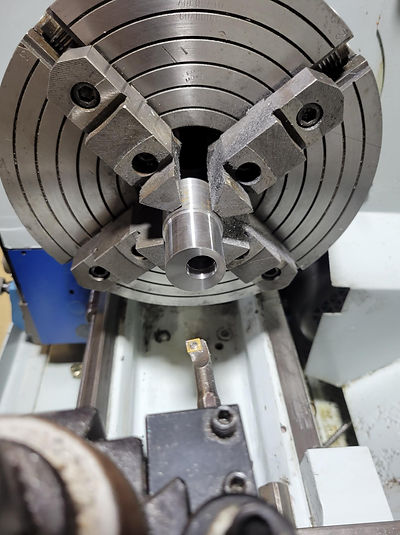
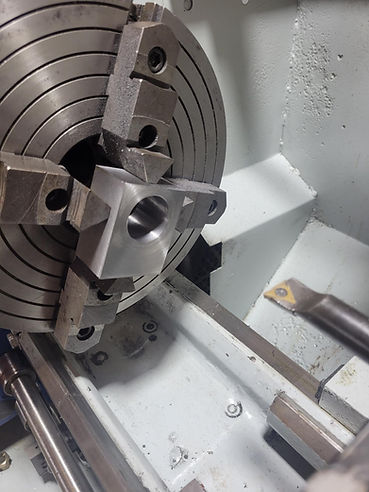
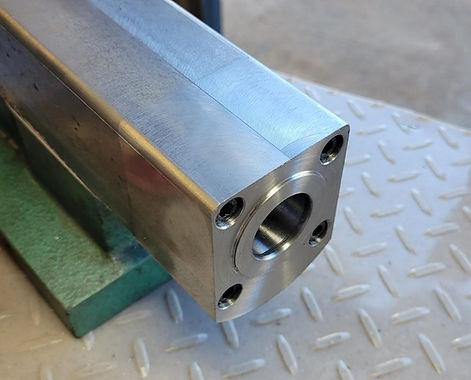
I started with the cam lock system. The parts are 719,720, and 722 on the schematic. The cam lock (720) shaft and cam lock were machined (723) from 4140. I changed up the design to be a little more robust. The original (723) is one piece and flimsy. The ring on top of the shaft was replaced with a large block and the hold down shaft screwed into the block vs the old one where a rod was welded into a ring. The handle was made out 416 stainless and longer than the original. See below. Note: In the pic below, the shaft on the cam lock isn't threaded yet.
.jpg)


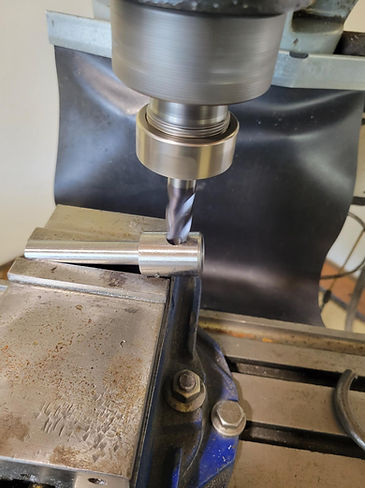
The next step was to make a bearing pack. This was done to the new tail stock, and it worked so well that these changes were incorporated into this one. When drilling a hole, it's smooth as butter and feels like you could drive the drill through your part without the machine turning. It has a very solid and responsive feel. The pack consists of two roller and two thrust bearings and a machined housing. I didn't take any pictures of it, but I made a new quill screw shaft (707). The new shaft needed to be longer to compensate for the new bearing pack.
The old bearing pack New bearing pack
.jpg)

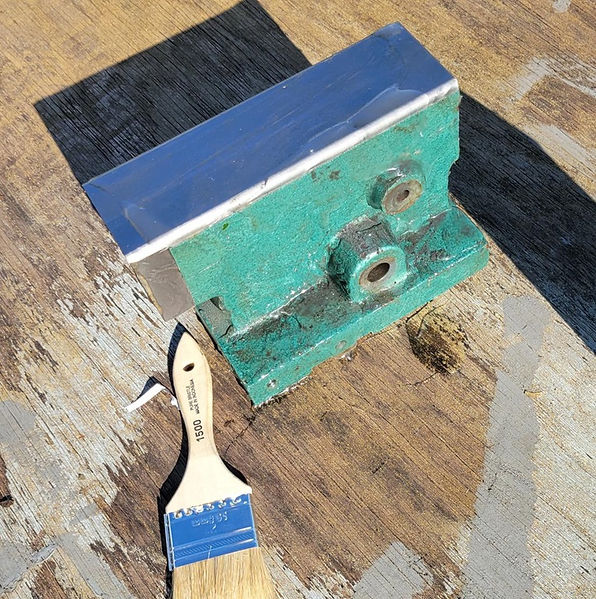
Refinishing
I didn't take many pics of the process. The coating and bonda was stripped off with Aircraft paint remover. The casting was so bad that i milled a smooth finish on the body. The parts were bead blasted and Cerakoted. This wasn't the best coating for this but it was the easiest. The best coatings I've used was PPG Pithane. It requires a little more effort and it has a really bad fumes.


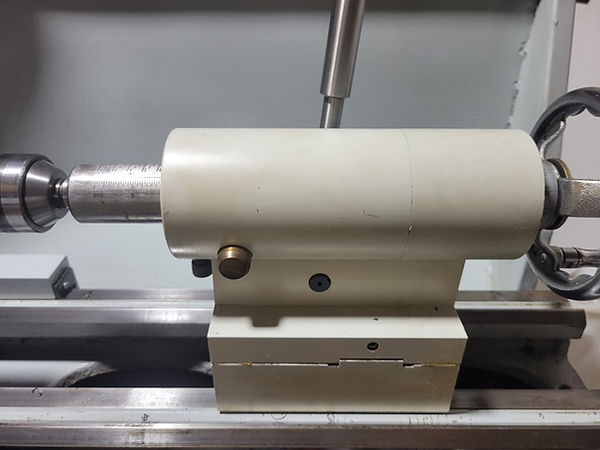
A lot of this was overkill but it was a fun project and its nice having confidence in your machine. When machining heavy cuts, the tail stock will not move and it has a great feel to it. Below is a pic of the one I built from scratch.
.jpg)